

The complete guide
How to Choose Piano Hinges for a Lid, Box or Cabinet
A better hinge choice starts with the moving edge
A loose lid or awkward cabinet door can make a simple job frustrating. Sometimes the old hinge is worn. In other cases, the fixing layout never suited the project in the first place. Before replacing hardware, it helps to look at the whole moving edge rather than just the screw holes.
Piano hinges create a continuous joint along the length where they are fitted. That makes them worth considering for suitable boxes, cabinet lids and workshop repairs. The key word is suitable. A hinge still needs enough mounting space, sound material behind the screws and the right capacity for the job.
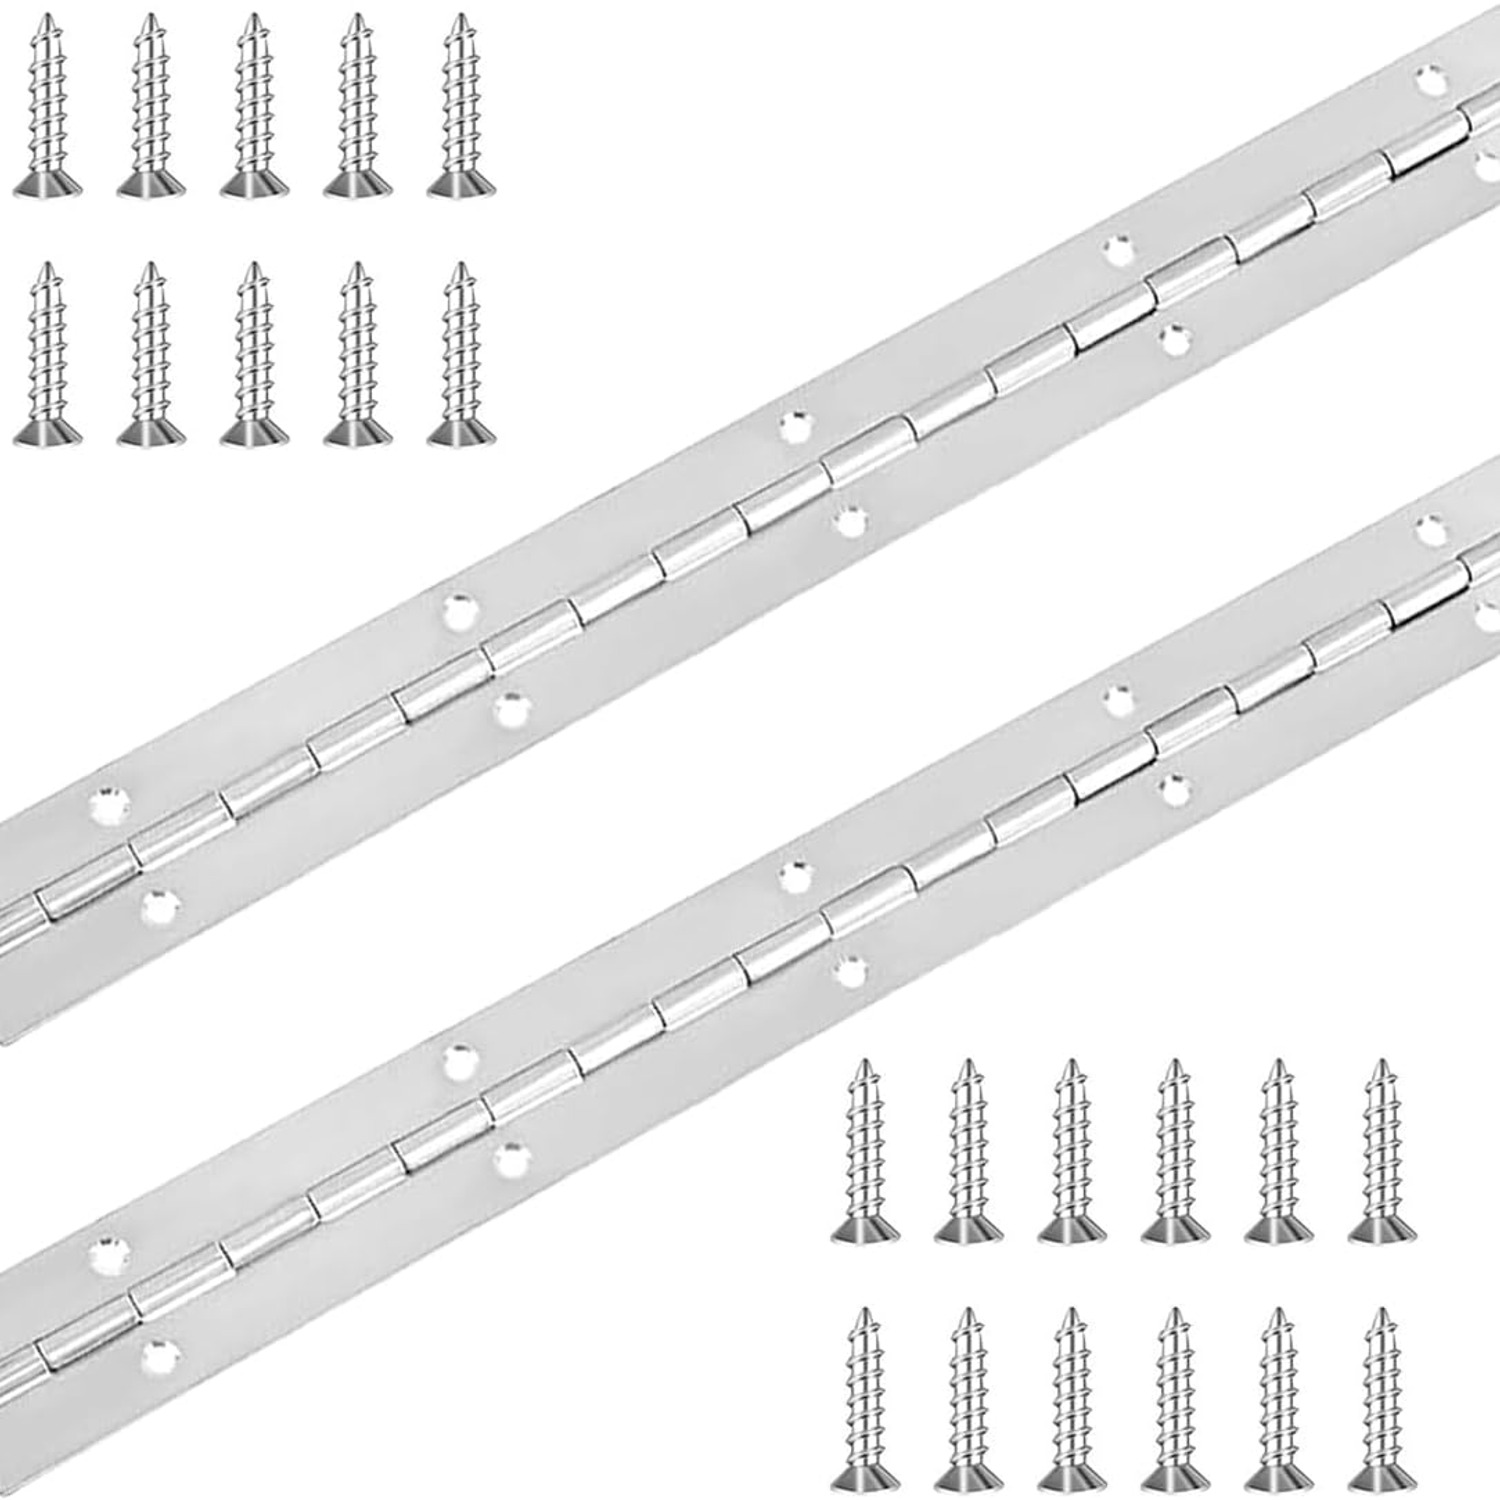
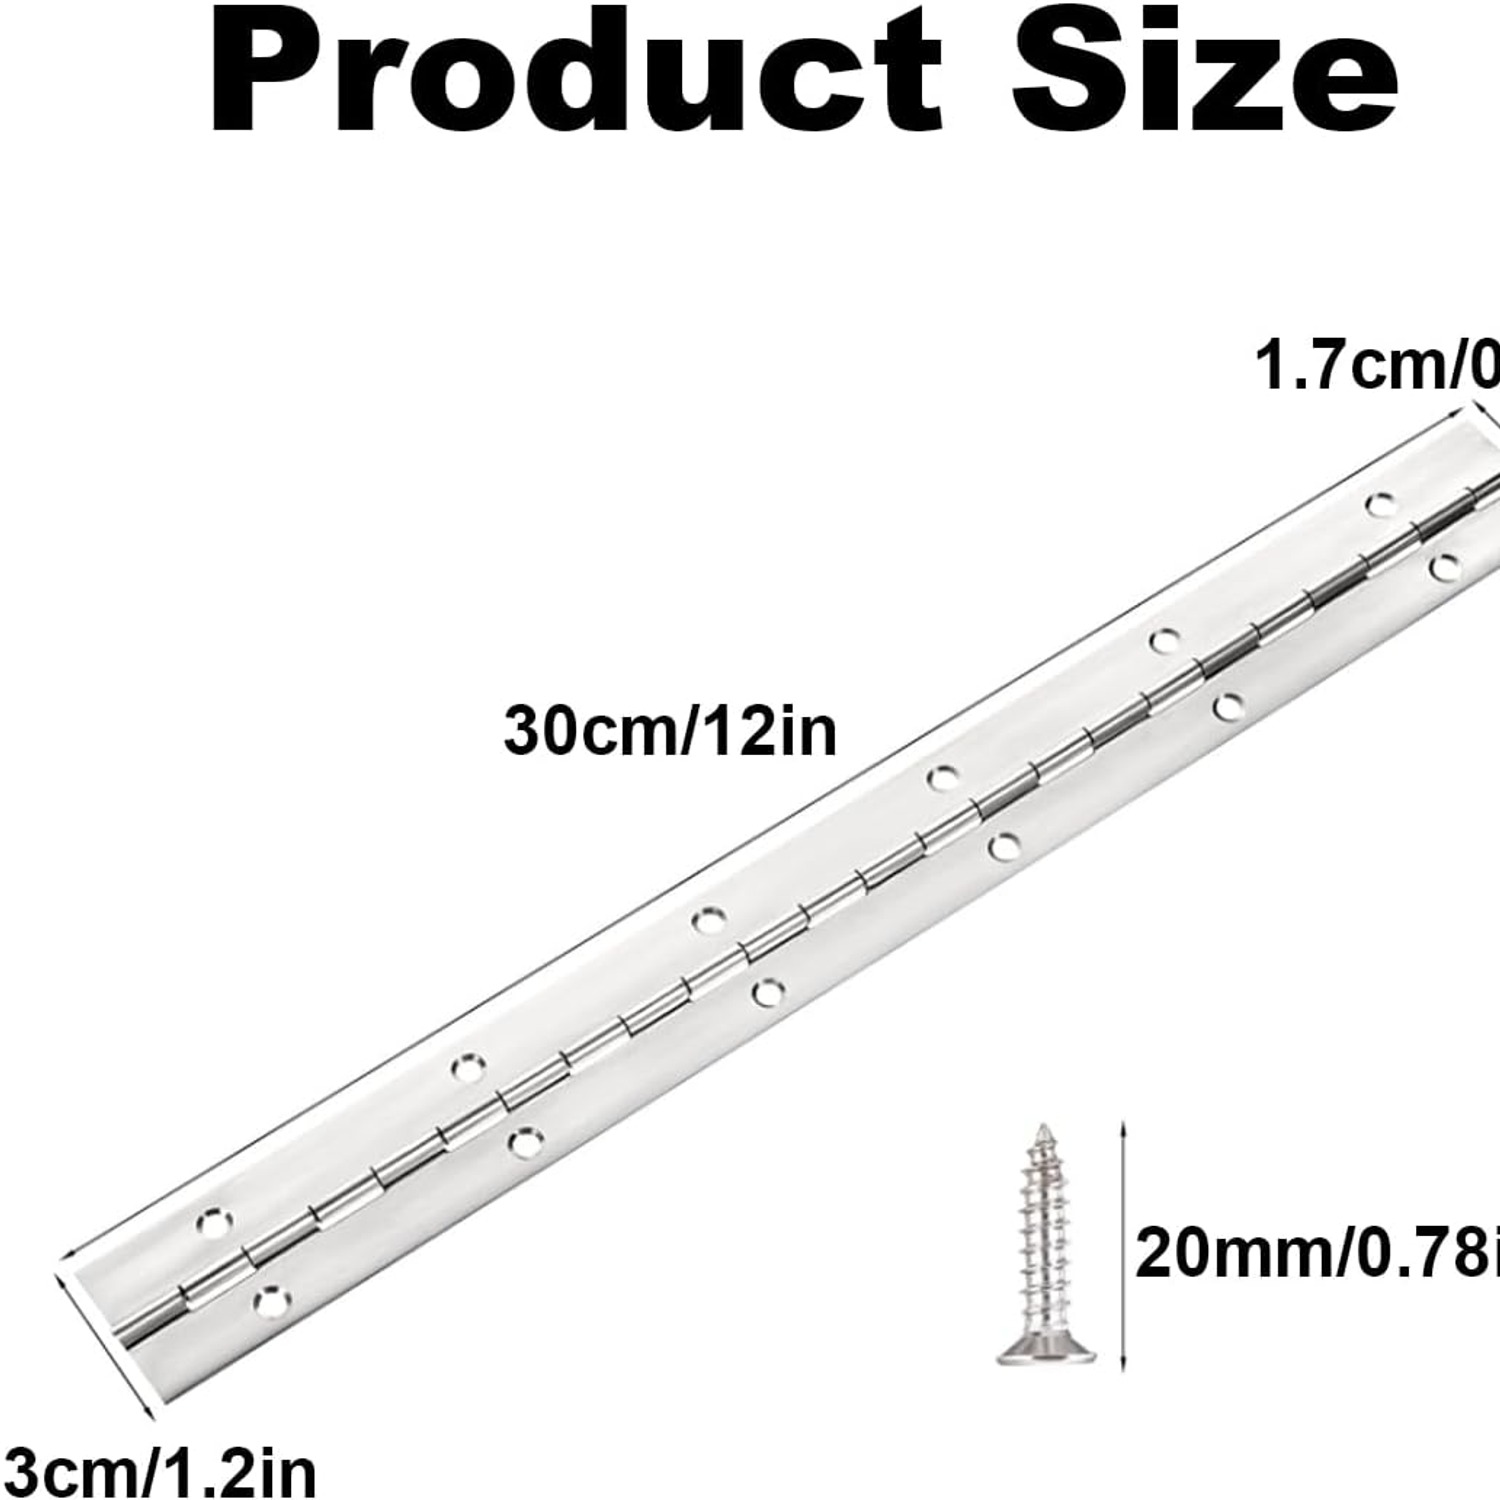
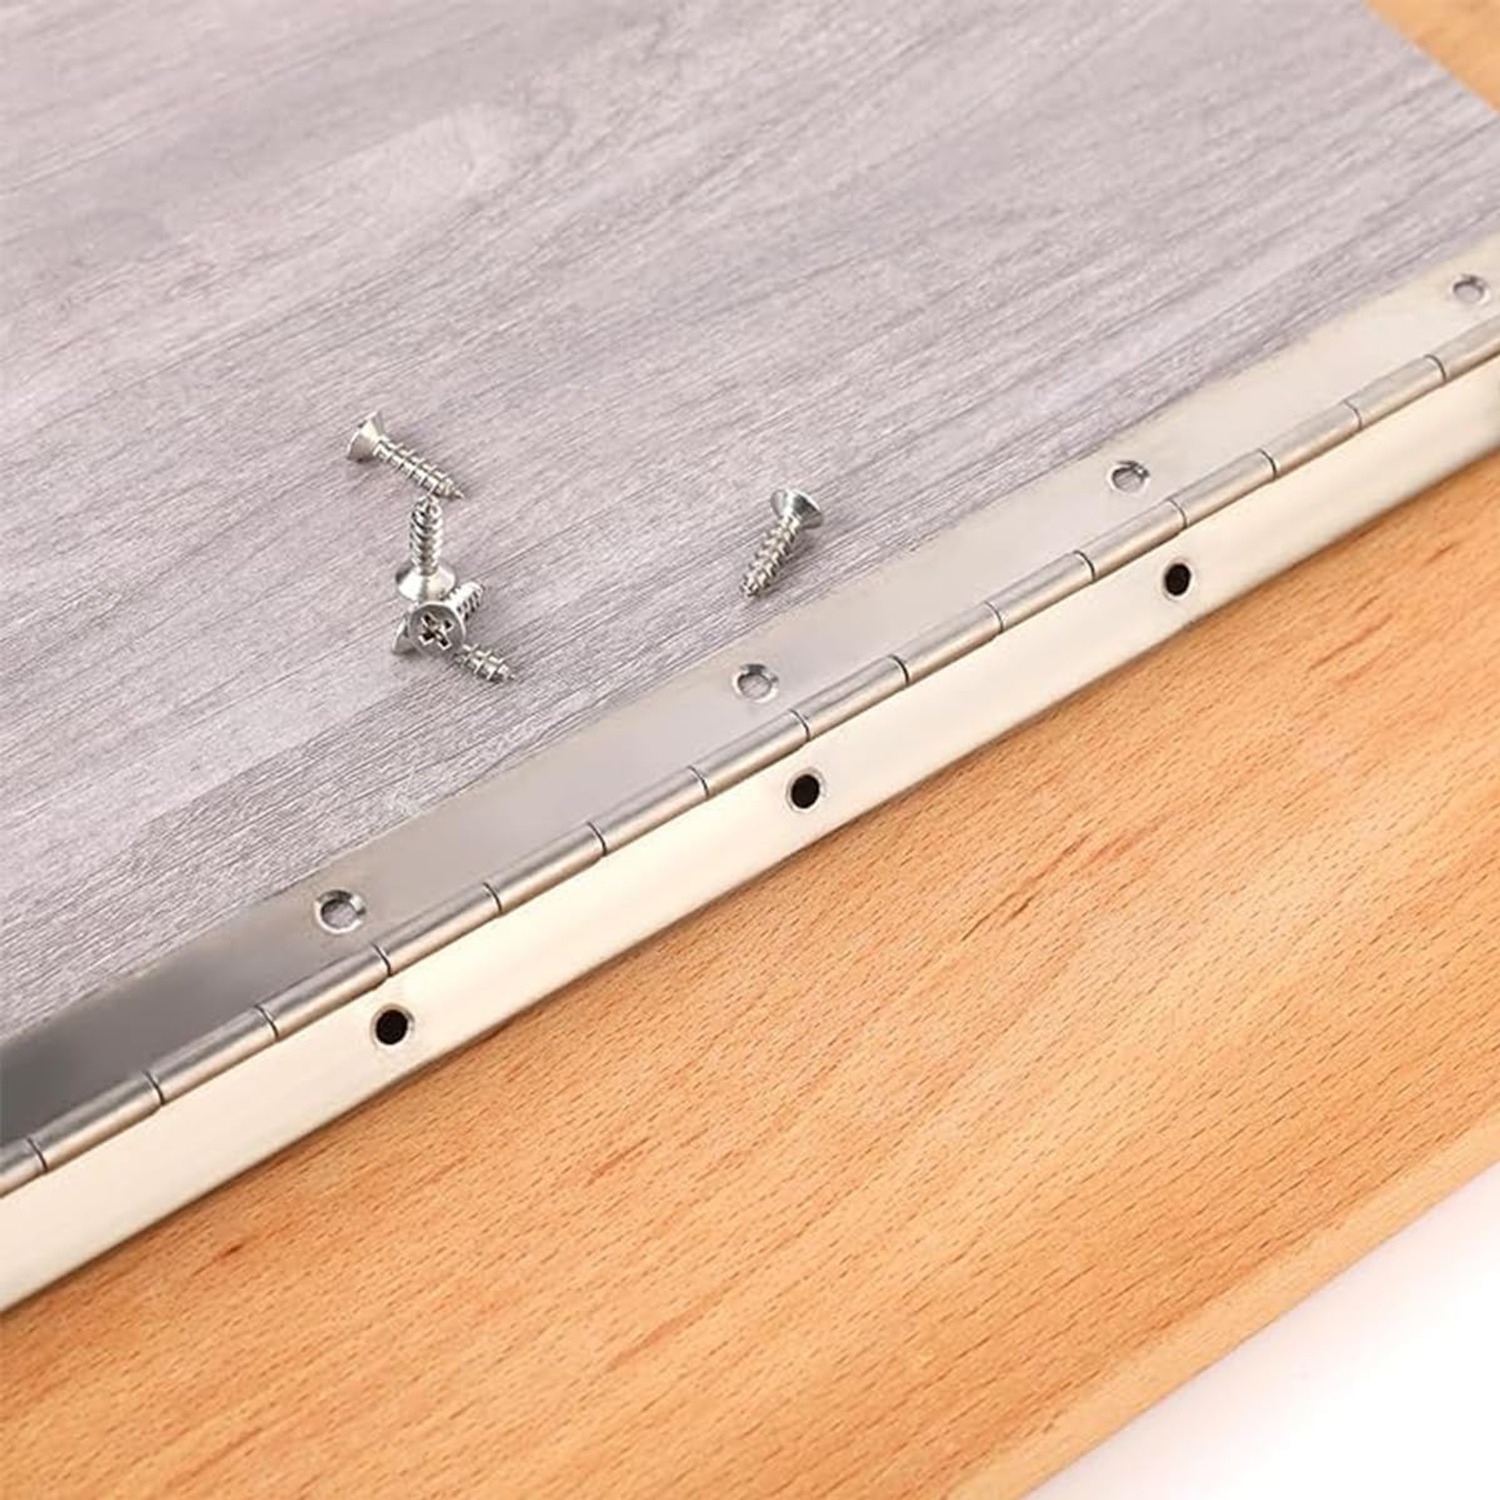
This DCSMYX set contains two polished stainless steel hinges and 24 matching screws. The listed dimensions are 30 x 3 cm, with a nominal description of 12 inch. Here is how to decide whether that format belongs on your project.
How a continuous hinge works
A continuous hinge has two long leaves that turn around a shared pin. One leaf attaches to the fixed part of the project. The other attaches to the moving lid or door. Their shared joint allows the two parts to rotate relative to one another.
Unlike separate short hinges, this design runs along a longer section of the mounting edge. It provides fixing positions along that fitted length. It does not automatically make weak timber stronger or remove the need to assess the weight of the moving part.
The joint position matters as much as the leaf position. If the hinge is placed badly, a lid may rub against the box or stop before it reaches the opening you need. A careful dry fit helps reveal those problems before they become permanent holes.
What comes in this set
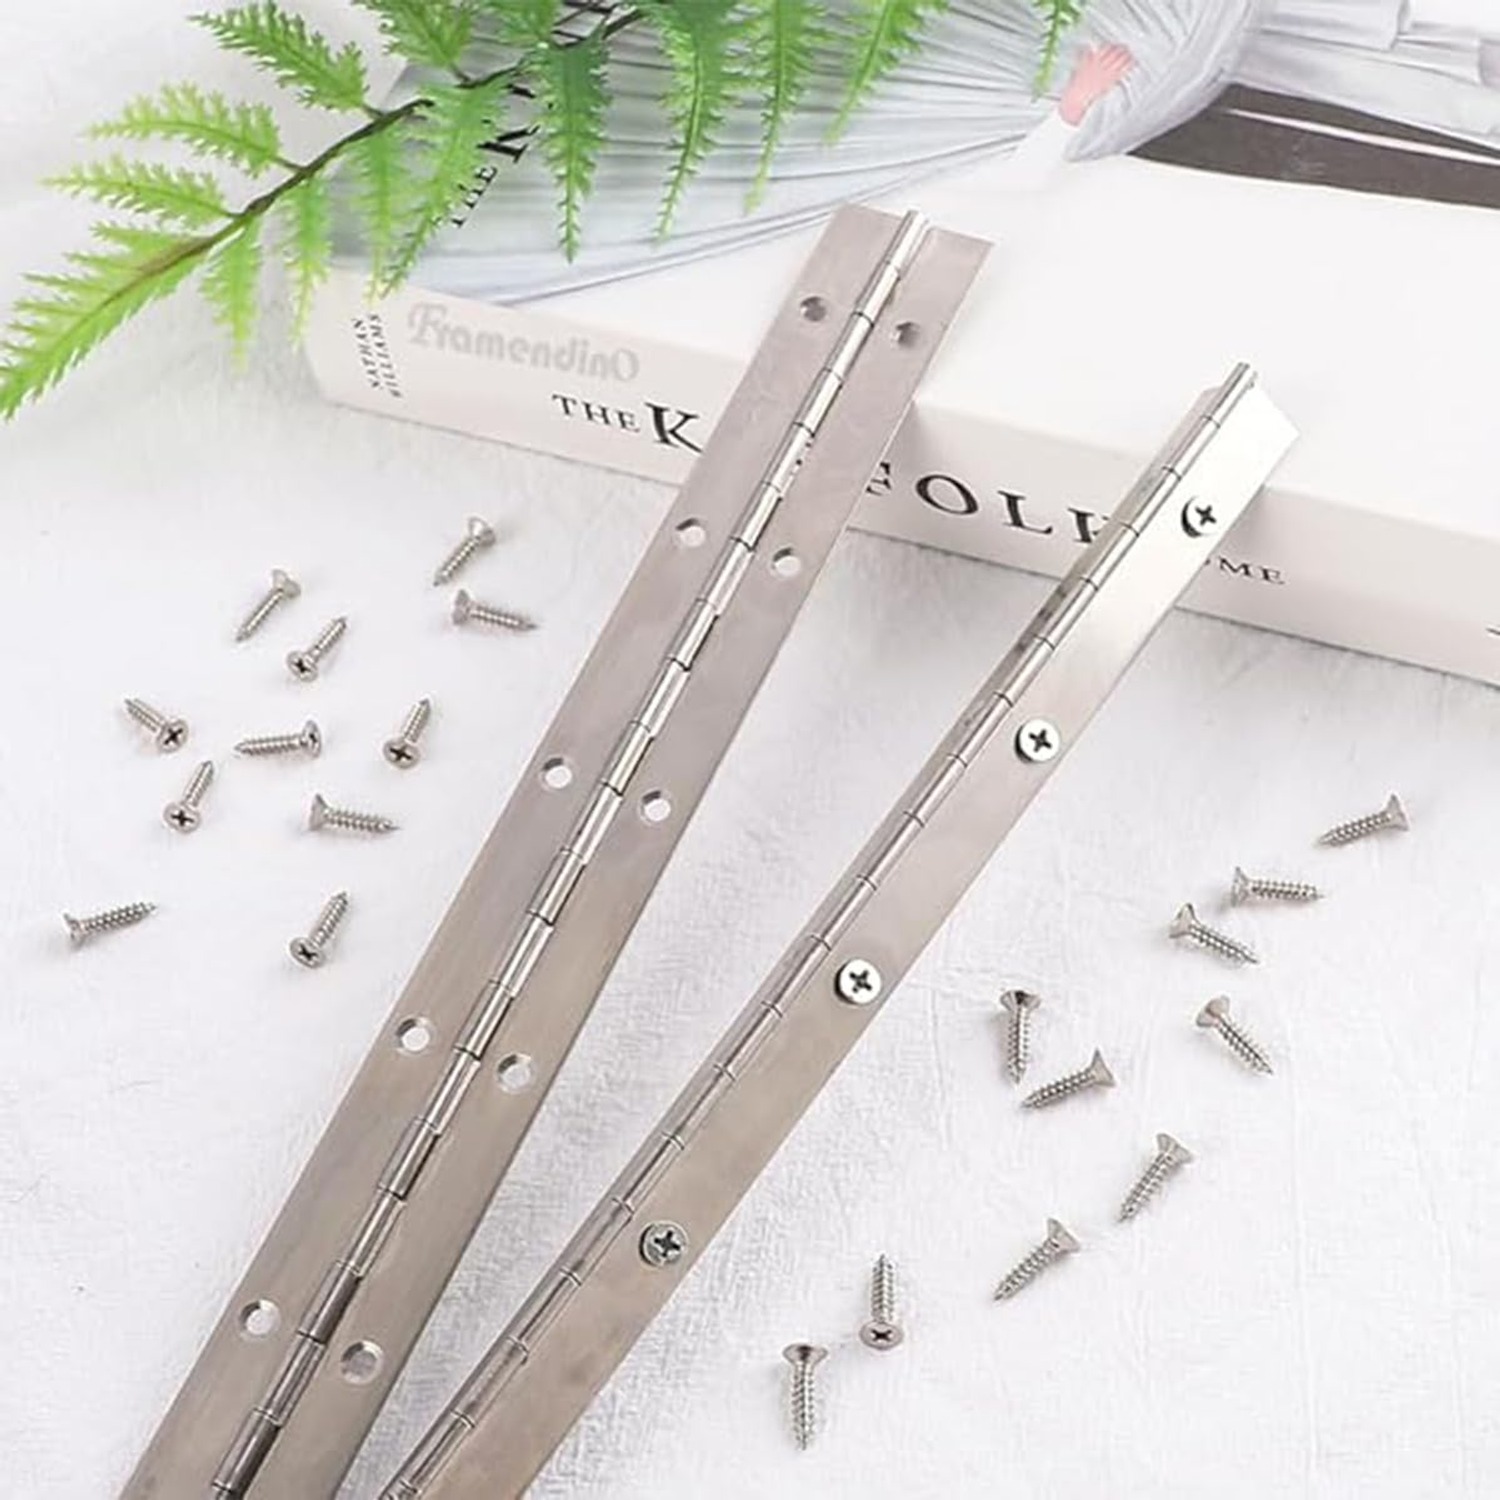
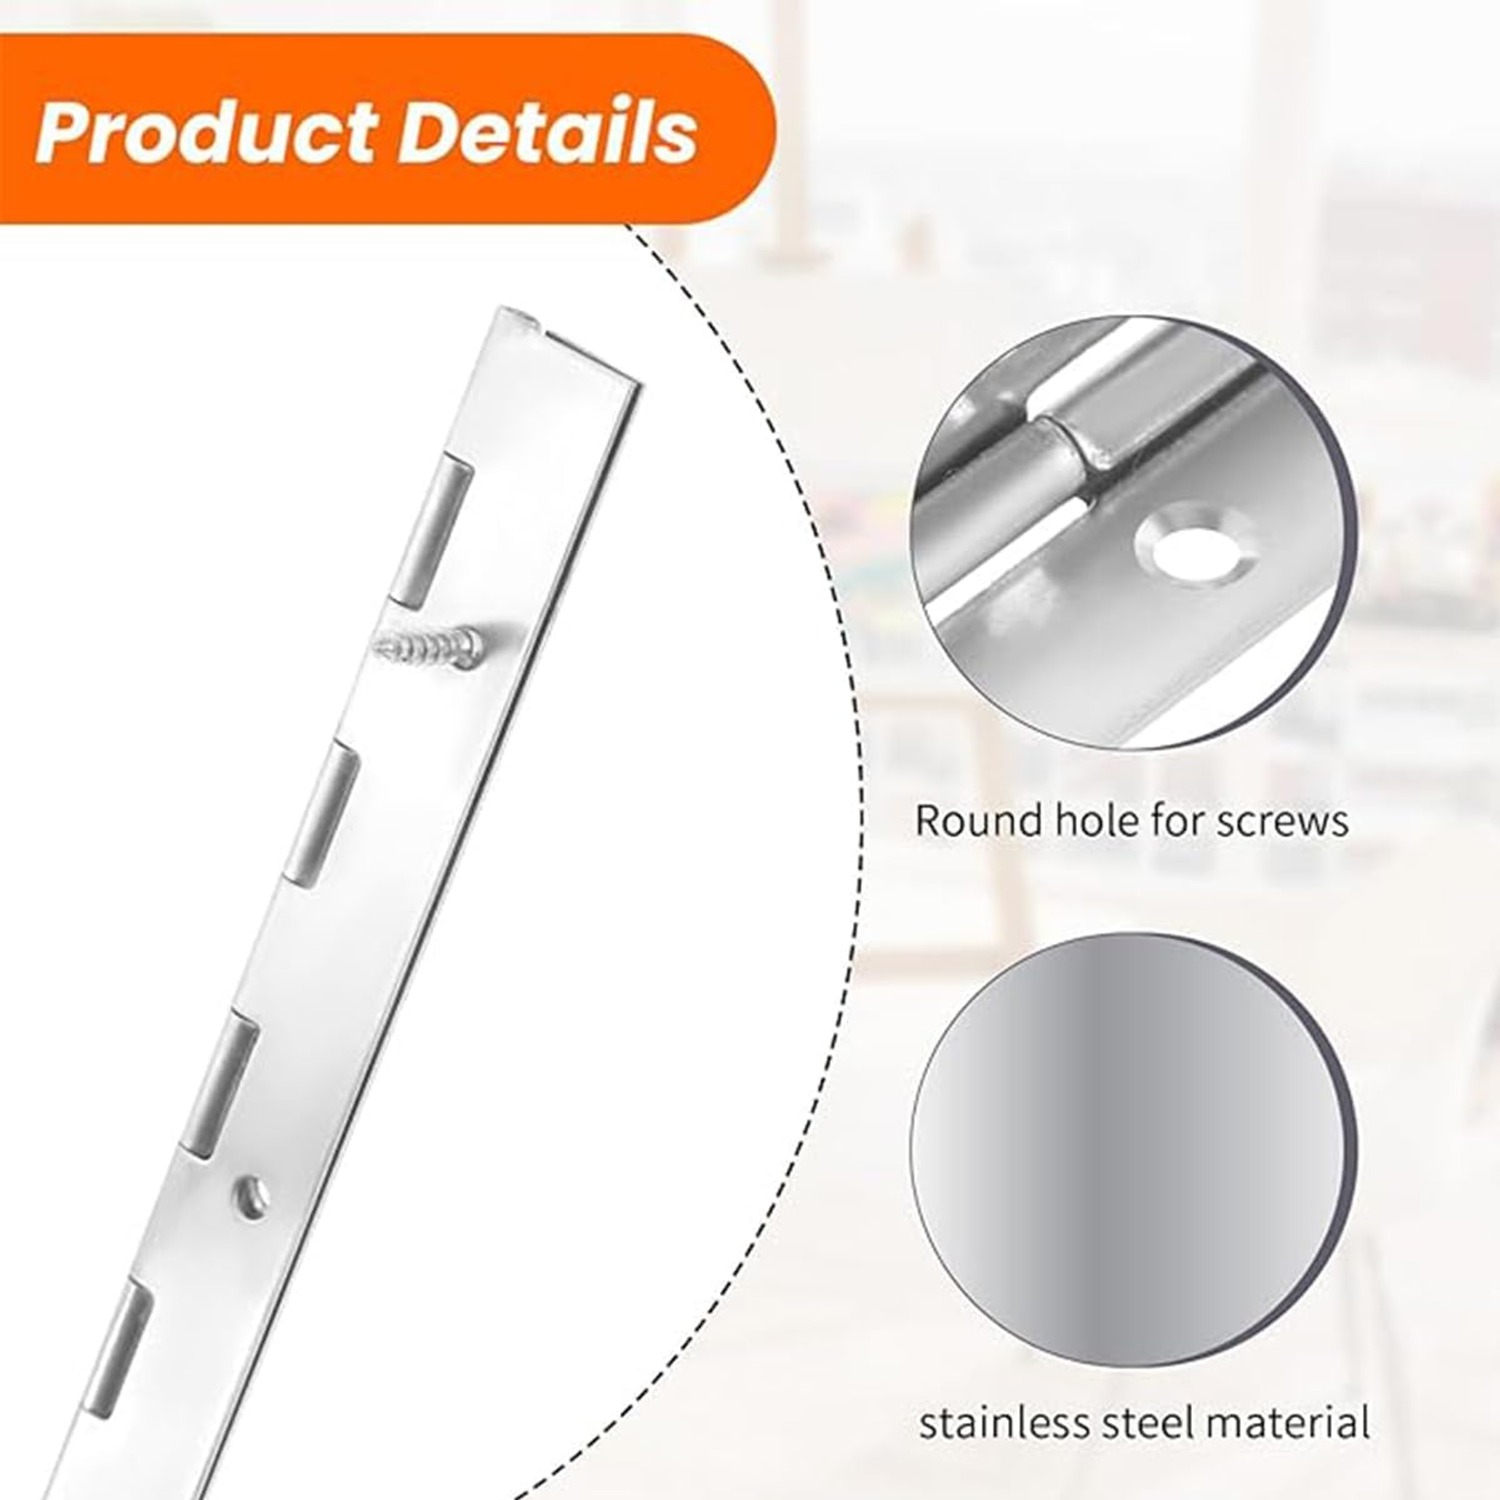
You receive two hinges and 24 matching screws. The hinges are stainless steel with a polished silver finish. Countersunk fixing holes provide seats for compatible screw heads, and the mounting type is listed as flush mount.
The supplied dimensions are 30 cm long by 3 cm wide. The maker's listing also uses the nominal term 12 inch. Treat those as the listing's size descriptions rather than a promise of an exact imperial conversion. Minor measurement variations are noted by the source.
The listed item weight is 220 g. There is no separate weight for each part, and several details remain unknown. These include leaf thickness, hole spacing, screw dimensions, opening angle and load capacity. Those gaps matter if you are working to a tight plan.
Which projects are worth considering?
The supplier suggests cabinets, storage containers, tool chests, jewellery boxes and other DIY work. These are useful starting points, not a guarantee that the hinges will fit every example. A small wooden box and a large tool chest ask quite different things of their hardware.
For wooden box hinges, compare the hinge length with the box edge first. Then check whether each mounting face has enough width for a leaf and its screws. Thin box sides can leave very little room for a secure fixing.
Cabinet lid hinges also need a clear opening path. Think about the wall behind the cabinet, any trim above it and the position of nearby handles. A hinge can fit the edge yet still leave the lid unable to move as intended.
For heavy doors or safety-critical work, choose hardware with a confirmed rating for the task. This record does not provide one.
Measure more than length
Start with the length of the edge where the hinge will sit. A 30 cm hinge needs a suitable run of mounting surface. Check for corner joints, existing fixings or other parts that could interrupt that space.
Next, look at width. The maker's listing gives a width of 3 cm but does not say whether that is measured with the leaves fully open. Do not plan a narrow recess around an assumed measurement. Confirm the actual leaf layout before cutting.
Thickness is another important detail, especially when a lid must close level with a surrounding edge. Since leaf thickness is not supplied, leave that part of your plan open until you can verify it.
Finally, check the screw path. Fixings should not break through a finished surface, enter a thin edge badly or collide with other hardware. These small checks often save more time than a fast start with the drill.
Replacing an old hinge
A DIY hinge replacement is easier when you keep the old hardware available for comparison. Measure its length and width, then inspect where the joint sits relative to the lid. Photograph the arrangement before removing it if the layout is hard to remember.
Do not assume that two hinges of similar length share the same hole pattern. This set's hole spacing is not listed. Place the replacement against the mounting surface and compare every fixing position.
Old holes also deserve attention. A screw that turns without tightening will not become secure just because the hinge is new. Damaged mounting material may need repair before fitting any replacement.
If the old hinge failed, try to understand why. Binding, weak fixings or an unsupported heavy lid may damage the next hinge too. Replacing the part without addressing the cause can leave you doing the same repair again.
Check the included screws against the surface
Hinges with screws are convenient, but included fixings are not a universal match for every material. This set supplies 24 matching screws without listing their length or thread type. Inspect them before deciding how to attach the hinges.
For wood, check that the screw length suits the available thickness. Suitable pilot holes can help reduce splitting and make the fixing position easier to control. Take particular care near the end of a narrow timber piece.
Metal and composite panels need their own fastening assessment. The supplier describes these materials as possible mounting surfaces, but that does not confirm that the included screws suit every panel.
If you are unsure, ask a hardware professional about the actual panel and expected use. It is better to choose the right fixing than to rely on appearance alone.
Think about finish and exposure
Polished silver hinges can sit neatly alongside other silver hardware. If appearance matters, compare the hinge with nearby handles and catches in normal room light. A screen image cannot show every small difference in tone or surface finish.
Stainless steel offers corrosion resistance, but it is not immune to every environment. The grade of steel is not listed by the maker. Neither is a marine rating.
That matters because boats are among the supplier's suggested uses. A sheltered storage compartment and an exposed salt-water location are not the same setting. Confirm the needs of the exact location rather than treating the word stainless as enough evidence.
For ordinary cleaning, start gently. A soft cloth and mild soapy water are sensible choices, followed by drying. Avoid rough pads that can scratch the polished surface.
Plan the opening and any lid support
Before final fixing, hold the hinge in position and check the movement carefully. Support the lid throughout this check. Look for rubbing edges, trapped fingers and contact with nearby parts.
No opening angle is supplied for this set. If your design needs a specific range of movement, verify that before committing to the installation. Do not force a joint to reach an angle it does not comfortably allow.
A hinge also should not be mistaken for a lid stay. There is no stated hold-open function here. Where a falling lid could hurt someone or damage the contents, assess the need for a separate support.
Toolbox lid hinges and storage box hinges can be part of a safe, practical design, but they are only one part. The rest of the box and its supports need equal attention.
Care after fitting
Once installed, open and close the lid slowly to check for smooth, unobstructed movement. Watch the screw heads and mounting faces for movement. Stop if a fixing shifts or the hinge begins to bind.
Over time, keep dirt out of the joint and wipe away moisture where practical. Inspect the screws periodically, especially on frequently used lids. A loose fixing is easier to address before it damages the surrounding hole.
If movement changes, check alignment and debris rather than simply applying more force. A twisted lid or failing mounting surface can put strain on otherwise usable hardware. Resolve the cause before returning the project to normal use.
Keep the product details with your project notes. Knowing the size and model can help when you need to compare replacement hardware later.
The short version
This two-piece set is worth considering when your project needs polished stainless steel piano hinges in the listed 30 x 3 cm format. The 24 included screws and countersunk holes offer a useful starting point for a suitable installation.
Measure the mounting faces, verify the fixings and check the full opening path. If your job depends on a stated load capacity, marine grade or exact opening angle, obtain that information before choosing. A good hinge choice starts with the needs of the lid, not just the look of the hardware.