
The complete guide
Lift Off Hinges Buyer's Guide, How To Choose And Fit Them
The problem with doors that will not come off
Anyone who has tried to work inside a cabinet with the door still attached knows the feeling. The door swings back into your shoulder. The hinge side blocks the one corner you need to reach. You end up working at an angle, dropping screws, and losing your temper over something that should have taken five minutes.
The usual answer is to unscrew the hinges. That works once. Do it a few times and the screw holes start to wallow out, the heads chew up, and you are driving slightly larger screws into slightly softer timber each time. Eventually the door no longer sits square, and you are patching holes with dowel and glue.
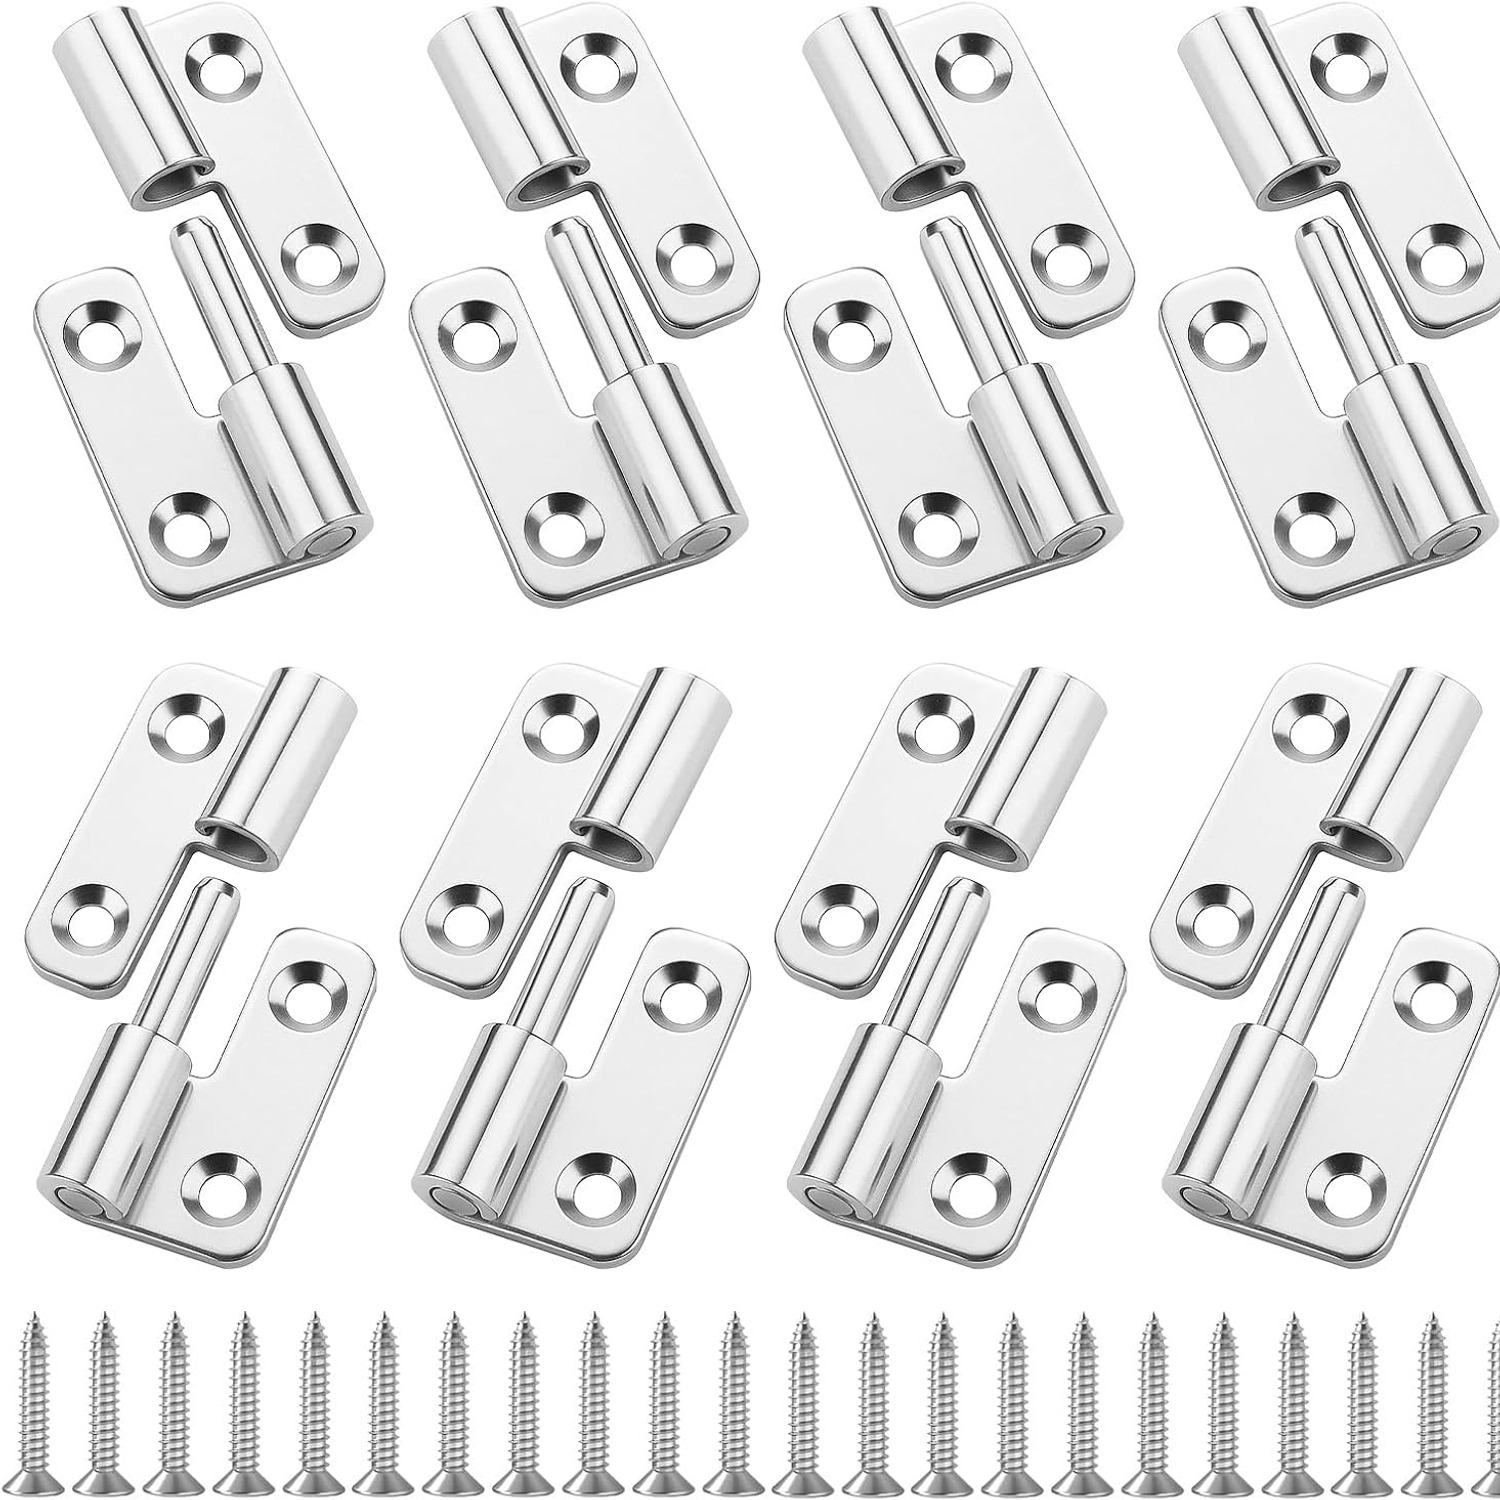
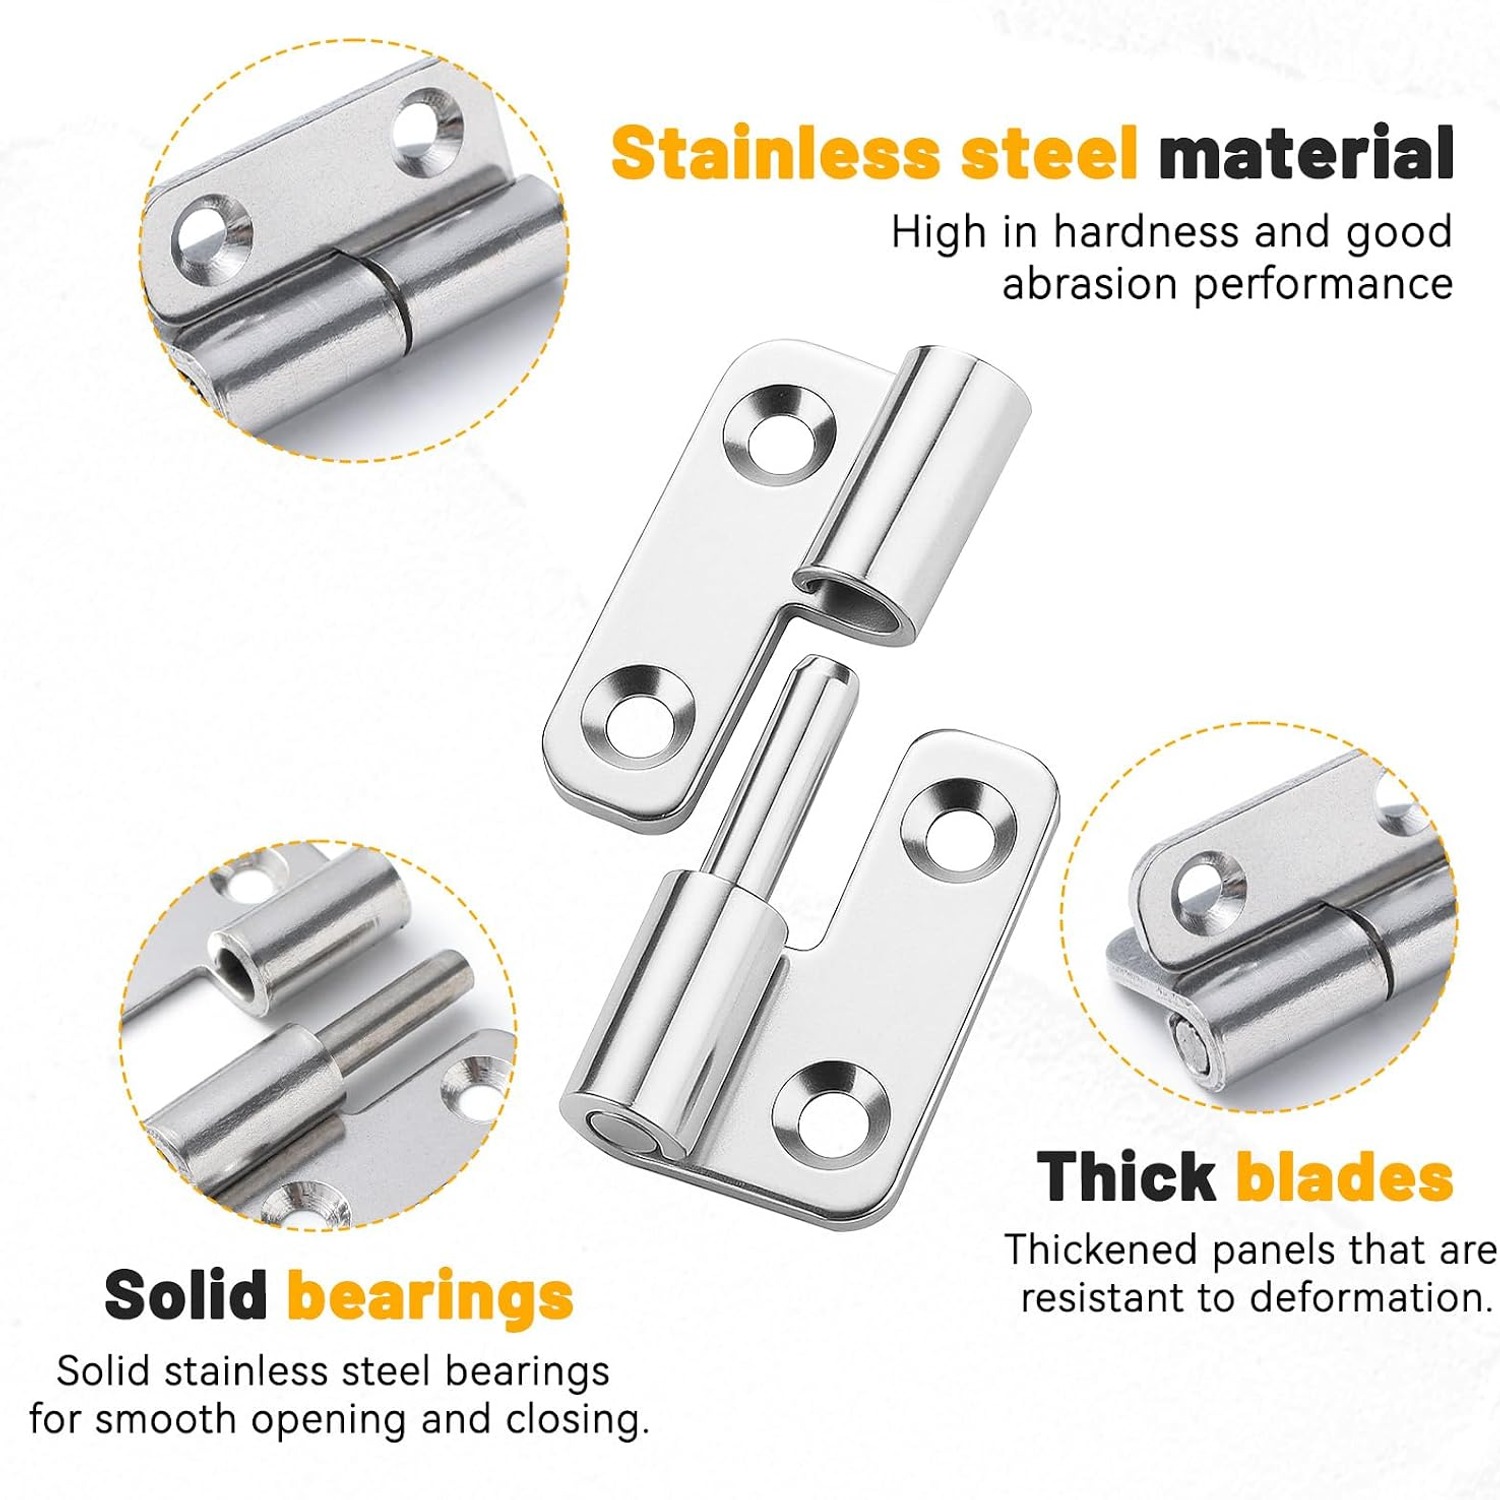
A lift off hinge solves this by splitting in the middle. One half stays on the frame with a pin sticking up. The other half stays on the door with a barrel that slides over that pin. Lift the door and it comes away in your hands. Lower it back and it drops straight into place. The screws never move, so the fixings stay tight for years.
How a lift off hinge actually works
The mechanism is simple, which is why it lasts. Gravity does the holding. The door sits on the pin and its own weight keeps the barrel seated. There is no spring, no cam, no mechanism to wear out beyond the pin and barrel surfaces themselves.
That simplicity brings one rule. The door has to hang vertically. These hinges are not suited to upward opening lids or anything where the door might swing in a direction that lifts the barrel clear of the pin. For a normally hung door on a cabinet or enclosure, that is not an issue at all.
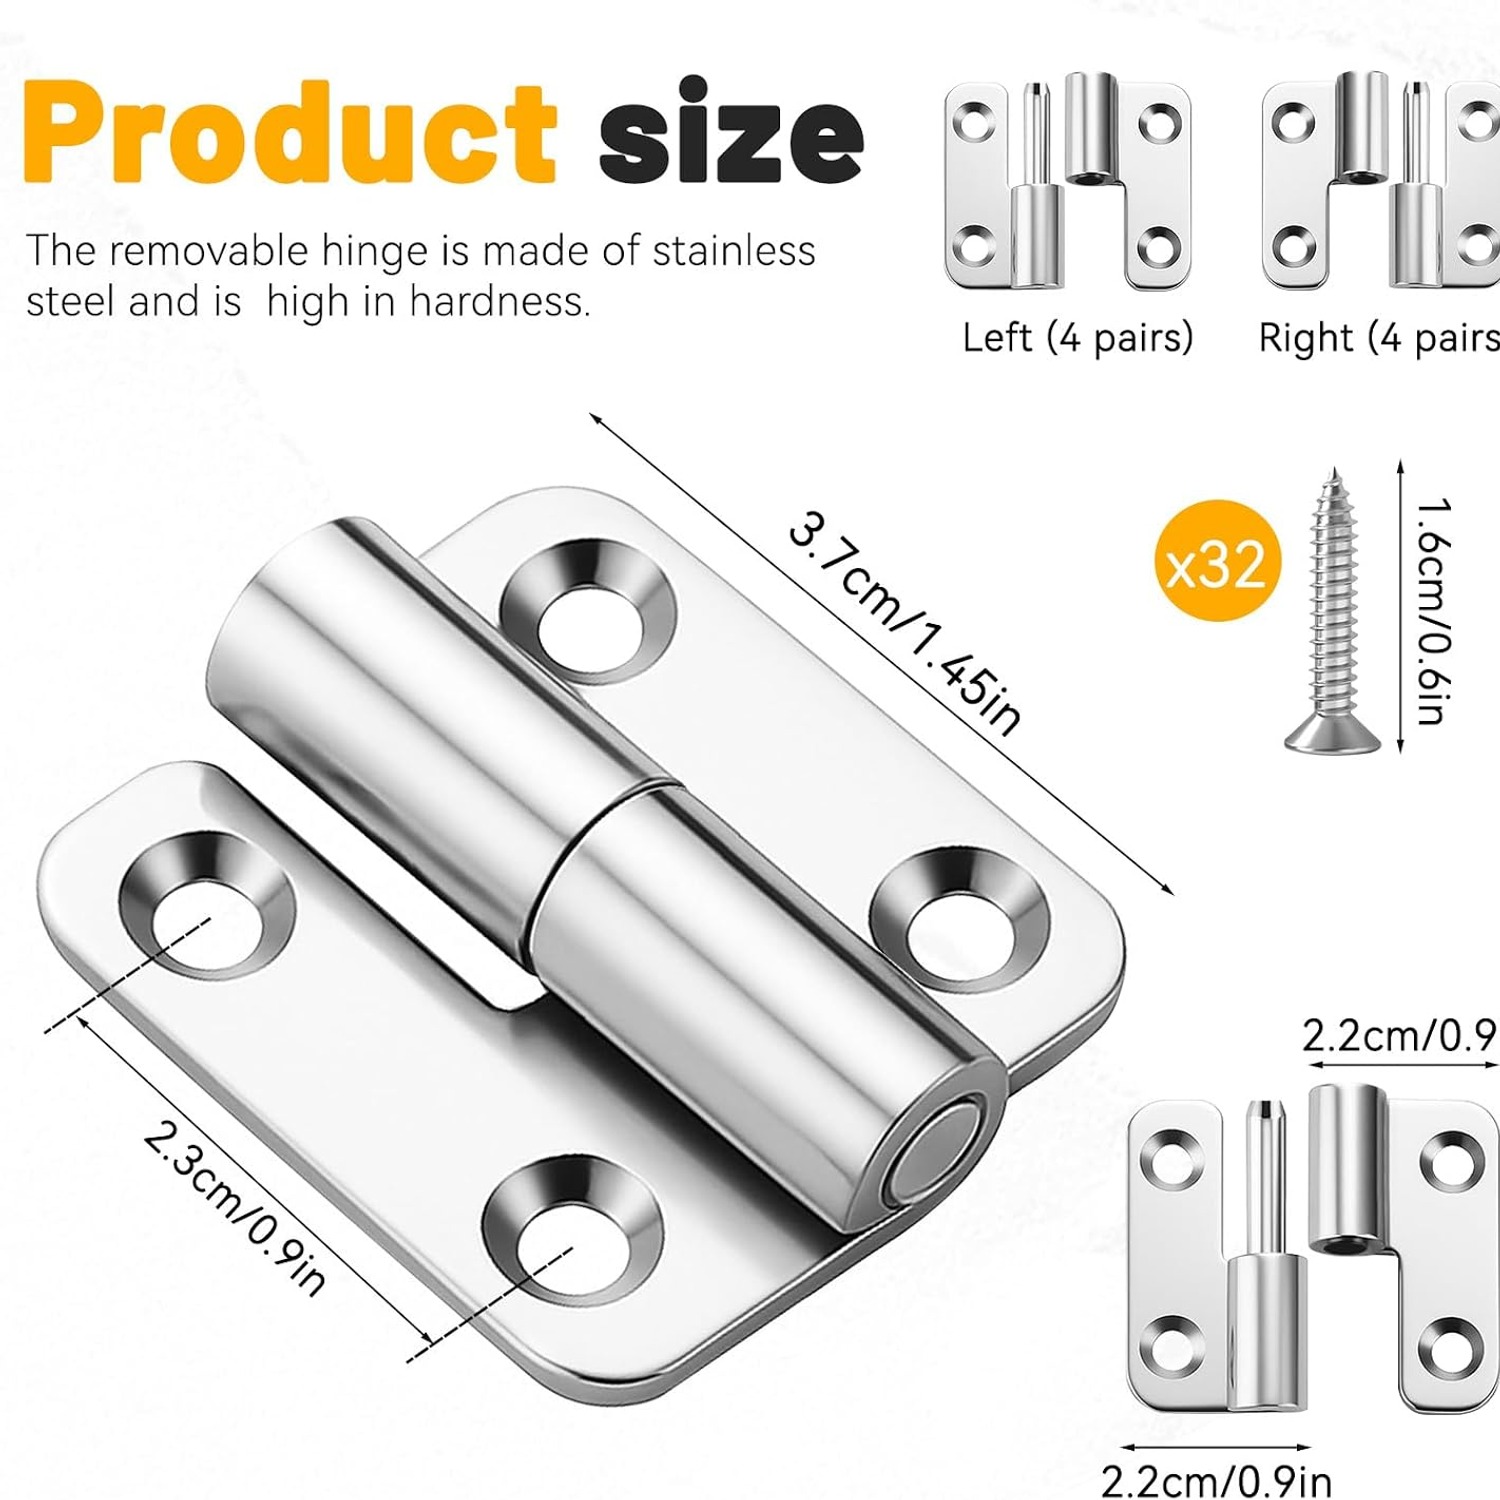
The second thing to understand is handing. A lift off hinge is either left hand or right hand, depending on which side the pin sits. You cannot flip one over to change its handing, because flipping it would put the pin underneath and the door would fall off. This pack gets around that by including both. Four hinges detach left, four detach right. Pick the pair that matches your door swing and the rest stay in the box for the next job.
Surface mount versus the alternative
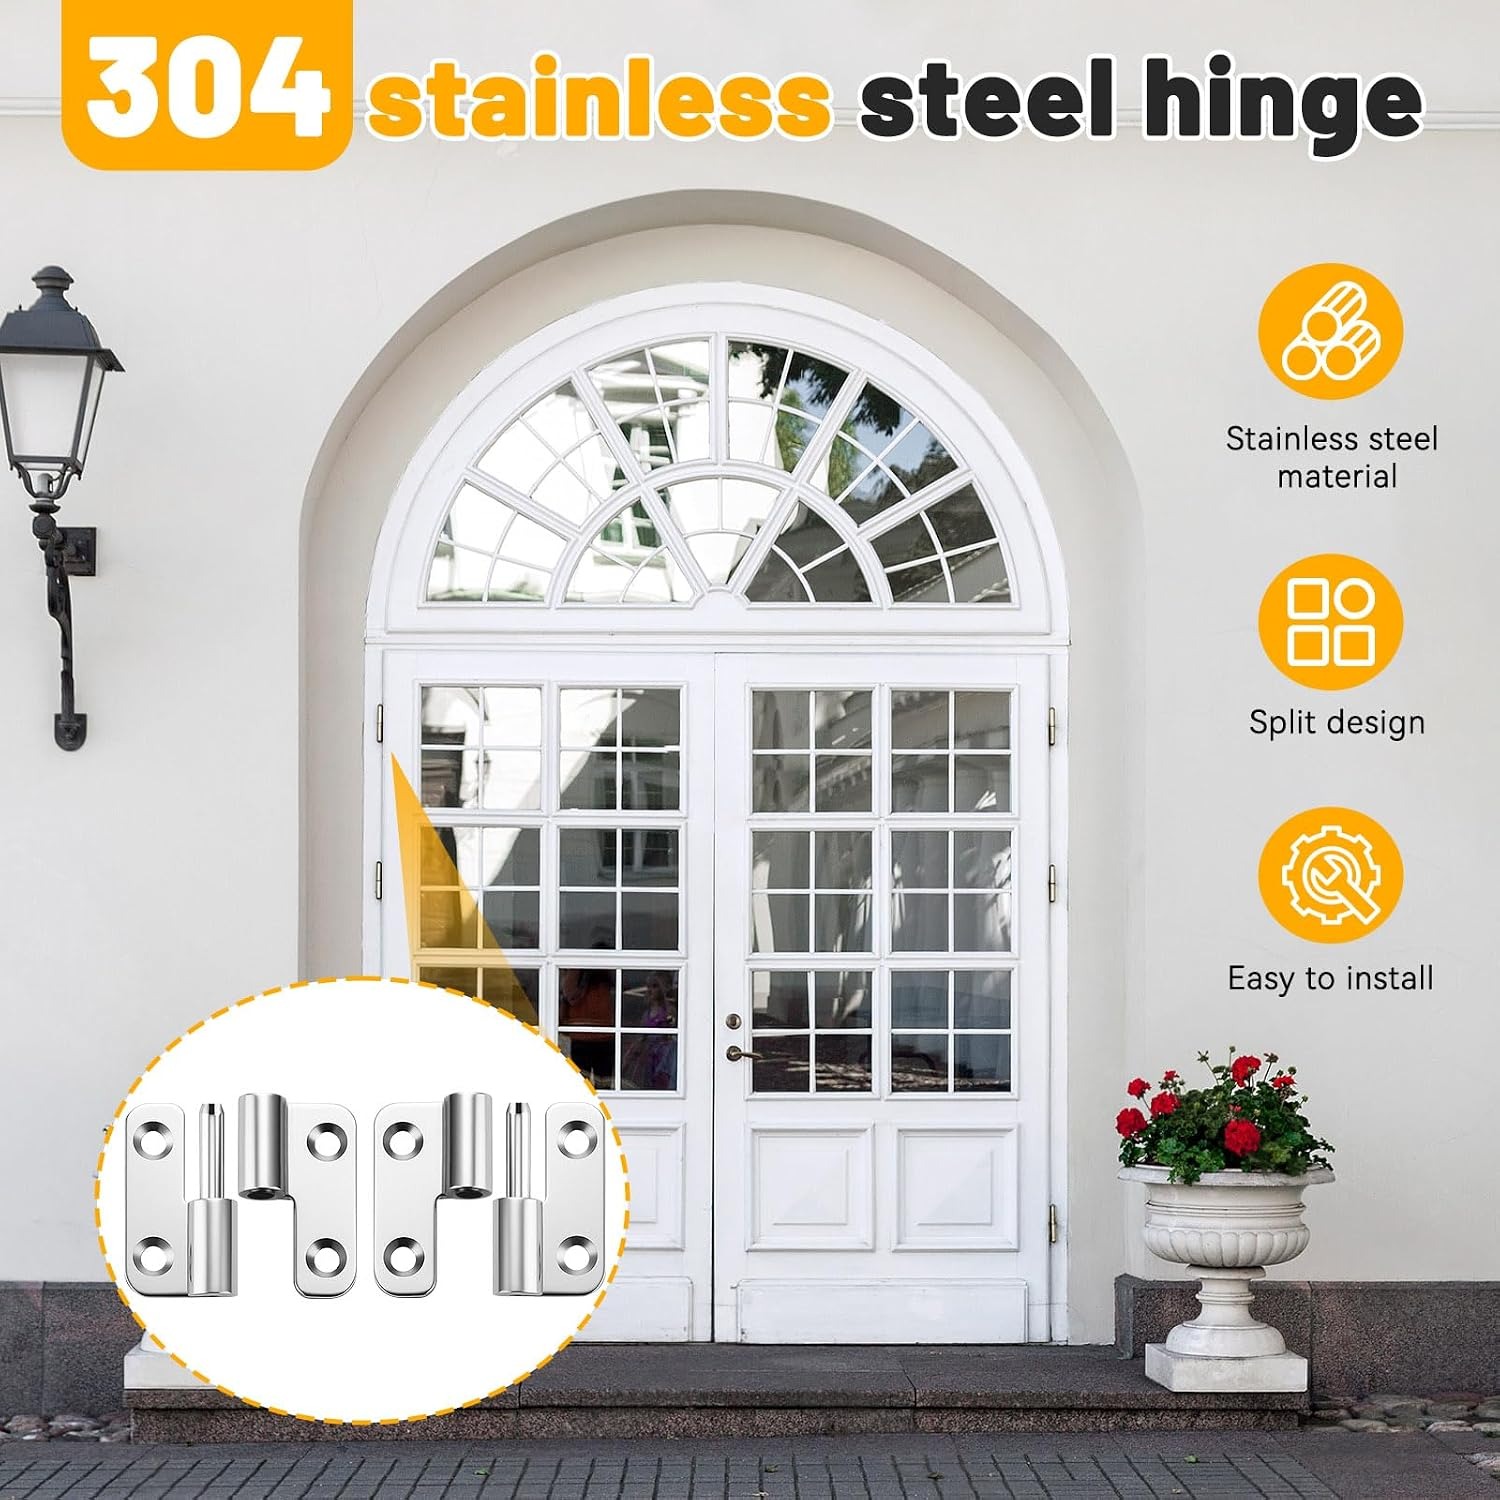
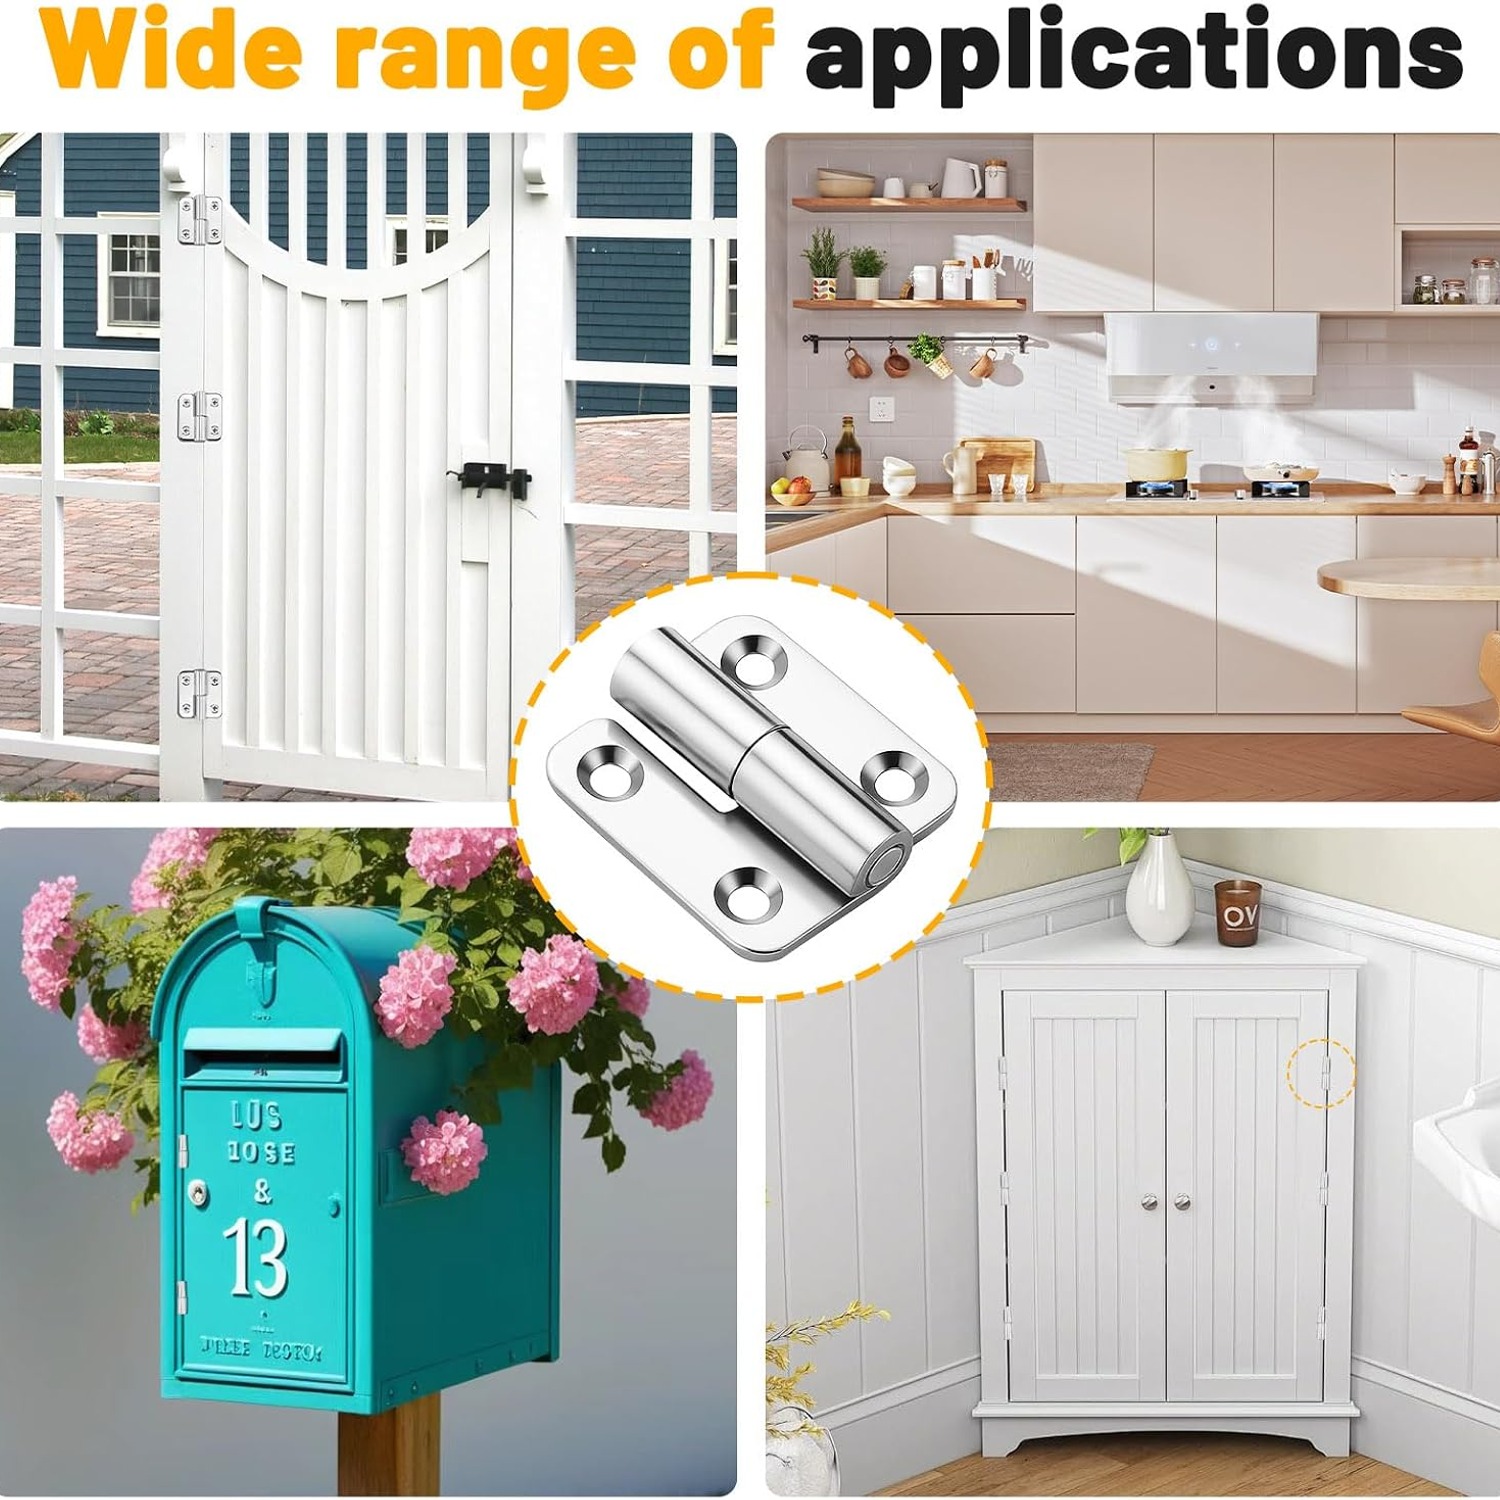
These are surface mount hinges, sometimes called flag hinges because of the shape of the leaf. Both halves screw onto the face of the timber. Nothing is recessed.
That is a real advantage on a retrofit. Cutting a mortise for a traditional butt hinge means a sharp chisel, a steady hand and a willingness to patch mistakes. A surface mount hinge needs a pencil mark, a pilot hole and a screwdriver. If you have never fitted a hinge before, this is the forgiving version.
The trade off is appearance. Surface mount hardware is visible when the door is closed. On a workshop cabinet, a tool chest, a machinery panel or an electrical enclosure that is completely normal and arguably looks right. On a fine piece of lounge room furniture you might prefer something concealed. Think about where the piece lives before you commit.
Who these suit
The best lift off hinges tend to end up in places where a door needs to move out of the way regularly. A few examples cover most of it.
Workshop and garage cabinets, where you are forever reaching into the back corner for something you put away six months ago. Access panels on machinery and pumps, where a technician needs clear line of sight and both hands free. Electrical cabinets, where running cable with a door flapping next to you is miserable. Smaller furniture projects, where removing a door makes finishing and sanding far easier.
They also suit anything you plan to take apart later. If a cabinet needs to go through a narrow doorway when you move house, doors that come off in seconds will save you a lot of swearing.
Choosing the right hinge for the job
Start with weight. A specific load figure is not listed in our supplier record for these hinges, so treat them as a sensible choice for small to medium doors and panels rather than heavy entrance doors. If the door feels substantial when you lift it, either add a third hinge to spread the load or step up to hardware with a published rating.
Next, count your hinges. Two per door is the usual starting point on a small cabinet front. Three becomes worthwhile once the door is tall, because the middle hinge stops the door bowing and keeps the gap even top to bottom. With eight hinges in the pack, you have room for four two hinge doors or two three hinge doors with spares.
Then think about the fixing material. The supplied screws are intended for timber. If you are hanging onto a metal panel, swap to self tapping screws or machine screws and nuts sized for the hole. Drilling the right pilot hole matters more than the screw itself. Too small and you split the stile, too large and the thread has nothing to grip.
Finally, check your clearances. The item dimensions listed here are 10 mm by 10 mm, and full leaf measurements are not listed by the maker. Measure the width of the door edge and the face of the frame where the hinge will sit, and make sure there is room for the leaf and the screw heads without fouling anything.
Fitting them without the fuss
Work in a logical order and the job goes quickly.
Fit the frame leaves first. Mark their positions, pilot drill, and drive the screws home. Then hold the door in position, slide the door leaves onto the pins and let the door hang where you want it to sit. Mark through the screw holes with a pencil. Lift the door off, pilot drill those marks, then put the door back on and drive one screw per hinge.
Check the gap before you finish. If it is even top and bottom and the door closes without catching, drive the rest of the screws. If it is slightly out, back off the one screw and nudge the leaf before committing. Doing it this way means you only ever drill once.
Keeping them working
Maintenance is barely worth the word. Wipe the hinges with a damp cloth when you clean the cabinet and dry them straight away. Stay away from scouring pads, bleach and strong solvents, which dull the brushed surface and can leave permanent marks.
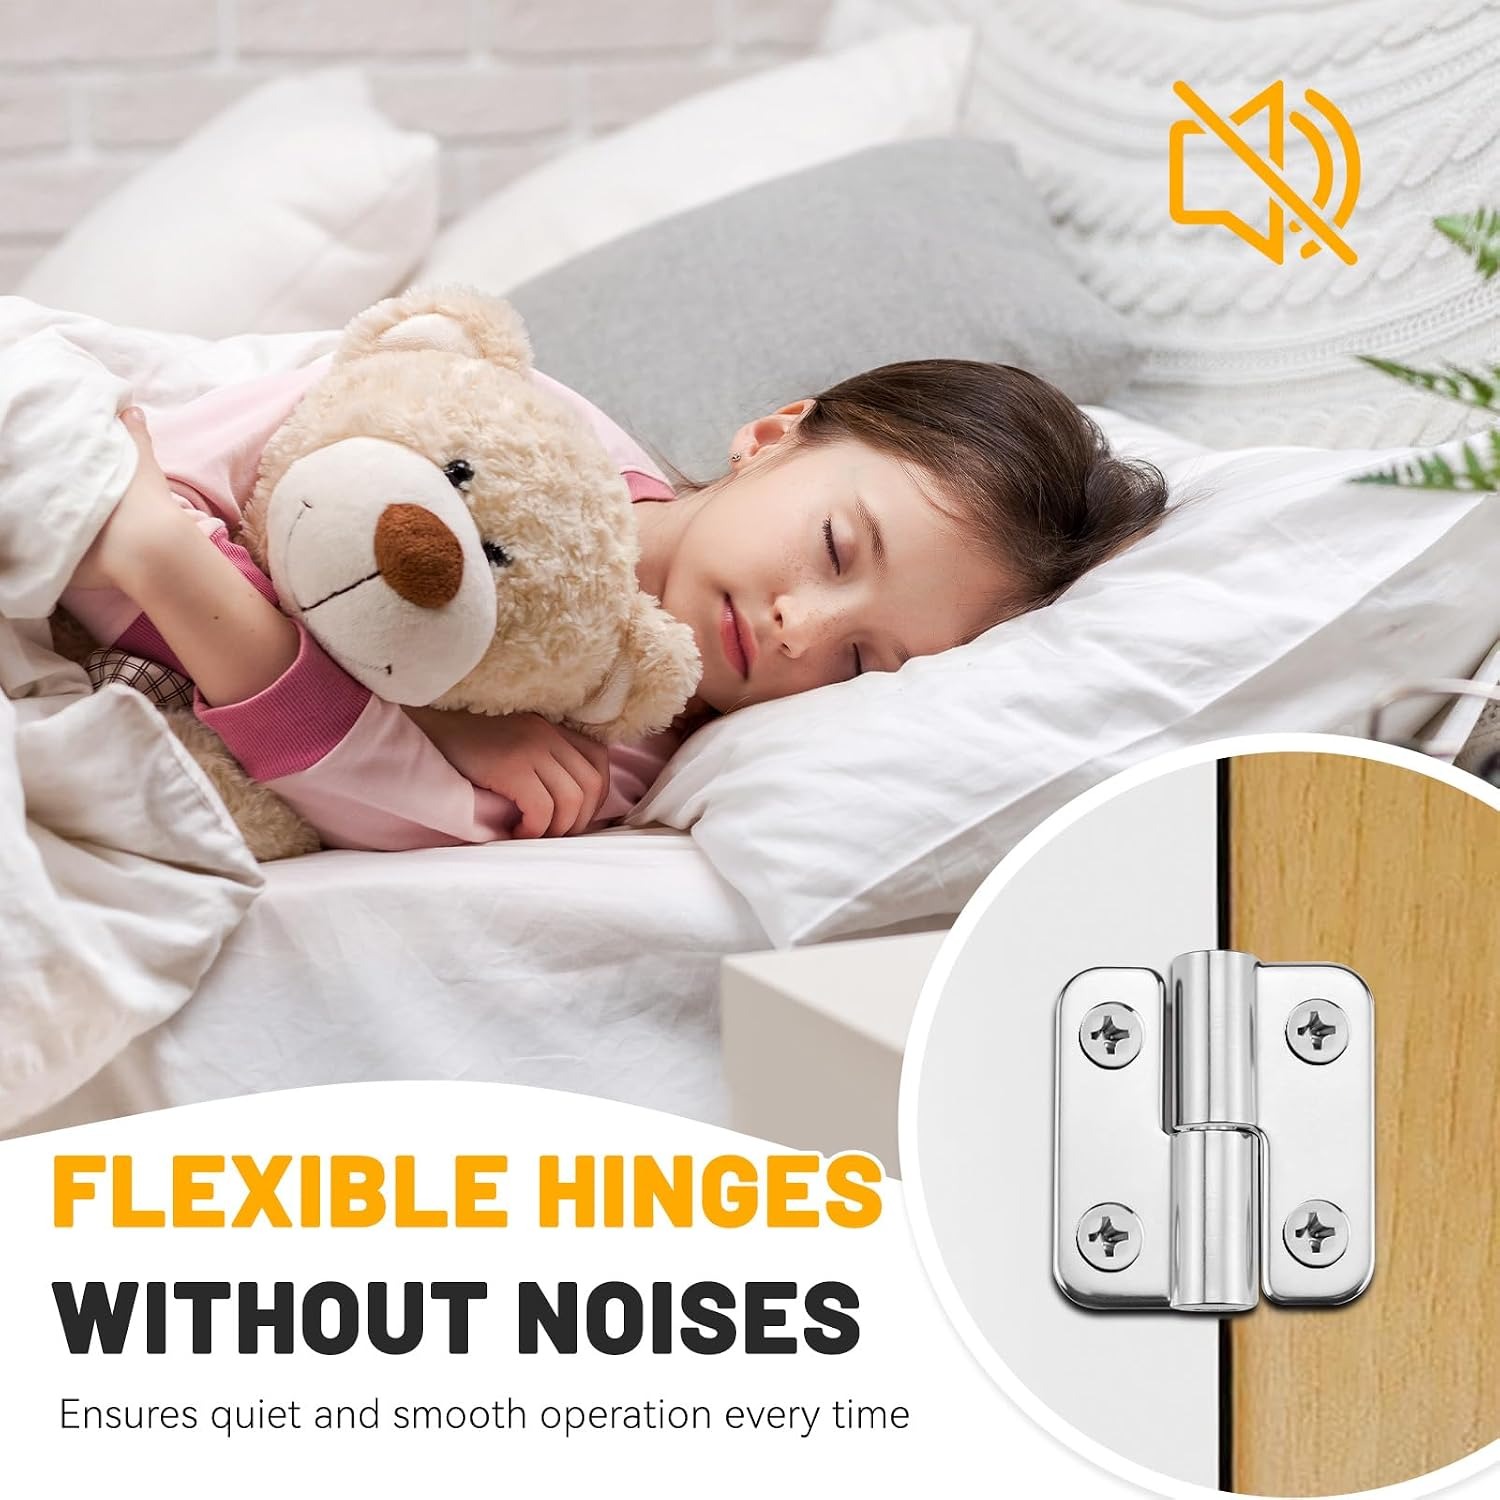
Every few months, give the screws a quick check on any door that gets opened constantly. A screw that has worked a quarter turn loose is a two second fix and stops the hole wearing. If the pin ever starts to feel dry or sound squeaky, a single drop of light machine oil and a few swings of the door sorts it out. Wipe off anything that runs, because oil holds dust.
Treated this way, there is very little to go wrong. There is no spring to tire and no plastic bushing to crumble.
The short version
Lift off hinges give you a door that comes away in your hands without touching a screwdriver. That is useful on cabinets, access panels and enclosures where you need clear access and clear hands. Because they are surface mount, fitting is a pilot hole and a screwdriver rather than a chisel and a lot of hope.
This pack gives you eight hinges, four left and four right, in a brushed silver finish with screws in the box. Match the handing to your door swing, use two hinges for small doors and three for taller ones, and check the door weight before you commit to anything heavy. Do that and you will have doors you can take off and put back for as long as the cabinet lasts.